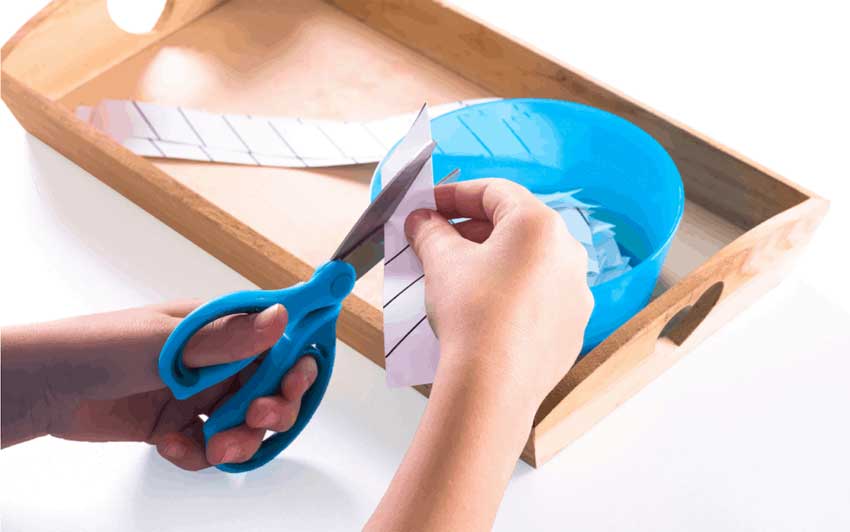
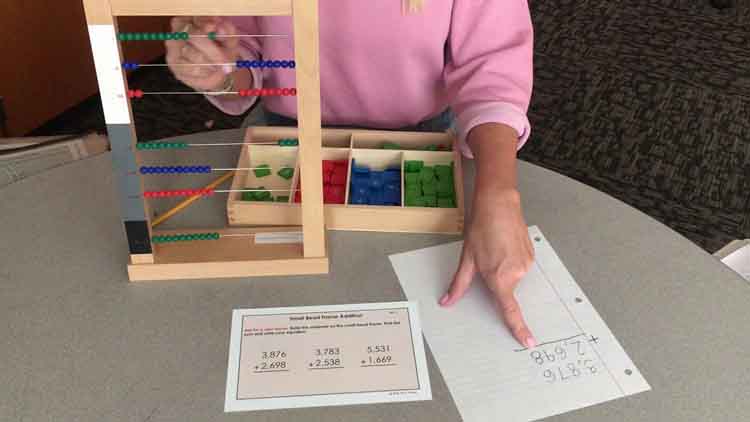
Montessori education, founded by Dr. Maria Montessori, emphasizes hands-on learning, independence, and self-directed activities. While the Montessori method is often associated with expensive, specially designed materials, many of these tools can be easily replicated at home using everyday items. With a little creativity and resourcefulness, parents and educators can create cost-effective Montessori apparatus that support children’s development in practical life, sensorial exploration, mathematics, and language.In this article, we’ll guide you through the process of creating a DIY Montessori apparatus, helping you transform simple materials into valuable learning tools that promote independent learning and cognitive development.
Why DIY Apparatus?
Montessori materials are carefully designed to support children’s natural curiosity and developmental needs. However, buying these specialized materials can be expensive, especially for parents and educators on a budget. The beauty of Montessori education is that its principles can be adapted to almost any environment, and homemade materials can be just as effective as store-bought ones.
Creating your own Montessori apparatus offers several benefits:
- Cost-Effectiveness: Many Montessori tools can be made from inexpensive materials found around the home or at a local craft store.
- Customization: Homemade materials can be tailored to suit your child’s individual interests and developmental stage.
- Simplicity: DIY materials often involve natural or everyday objects, making them easy for children to use and manipulate.
Essential DIY Ideas
Below are some simple and cost-effective DIY Montessori Apparatus you can create to promote different areas of learning at home.
1. DIY Sorting and Matching Tray
Sorting and categorizing activities are fundamental in Montessori education. They help develop logical thinking, fine motor skills, and a sense of order. You can create a sorting and matching tray with just a few materials.
Materials Needed:
- Small containers or bowls (plastic or glass)
- Various objects for sorting (buttons, coins, beads, bottle caps, or even natural items like leaves or rocks)
How to Create:
- Take a tray or shallow box and place several small containers on it.
- Collect objects of different colors, sizes, or types.
- Encourage your child to sort the objects based on one characteristic, such as color, size, or texture.
- You can also use this tray for matching activities, such as matching a colored button to a matching colored bowl.
This DIY Montessori material fosters categorization skills and introduces the child to concepts of classification.
2. Homemade Sandpaper Letters for Writing Practice
One of the fundamental principles of Montessori education is to engage children’s senses. Sandpaper letters are an excellent tool for teaching letter recognition and phonetics, as they provide tactile feedback through the feeling of the letter shapes.
Materials Needed:
- Cardboard or wooden boards
- Sandpaper
- Scissors
- Glue
How to Create:
- Cut out letter shapes (both uppercase and lowercase) from the sandpaper.
- Glue them onto small pieces of cardboard or wooden boards for stability.
- Ensure the sandpaper letters are large enough for young children to trace with their fingers.
- Once complete, encourage your child to trace the letters while saying the corresponding sound.
This DIY project helps children engage in sensory learning, which is essential for early literacy development.
3. DIY Color Matching and Sorting Bottles
Color recognition is a vital part of early childhood development. DIY color matching and sorting bottles are perfect for introducing children to different hues, shades, and color concepts in a fun and interactive way.
Materials Needed:
- Clear plastic or glass bottles (empty spice jars or baby food jars work well)
- Colored paper or fabric
- Glue
How to Create:
- Cut small pieces of colored paper or fabric in various colors and glue them onto the outside of each jar.
- Fill the jars with items that match the color of the jar, such as colored pompoms, beads, or buttons.
- For an additional challenge, children can practice matching the items to jars with the corresponding colors.
This activity enhances a child’s visual discrimination skills and promotes concentration and attention to detail.
4. DIY Practical Life Tools: Watering Can and Planting Kit
Practical life activities are an essential part of the Montessori method, as they teach children responsibility, independence, and coordination. A DIY planting and watering kit can be a fantastic tool for learning about nature and caring for plants.
Materials Needed:
- Small watering can (or a plastic bottle with small holes poked in the cap)
- Small pots or containers
- Soil
- Seeds (herbs or flowers are ideal)
- A tray to hold the materials
How to Create:
- Fill small containers or pots with soil and plant seeds of your choice.
- Provide a small watering can or a plastic bottle with holes poked in the cap for children to practice watering the plants.
- You can also add labels to the pots or create a gardening log where the child can track the plant’s growth.
This activity helps children develop fine motor skills, encourages responsibility, and teaches them about the natural world.
5. DIY Number Rods for Early Math
Number rods are another Montessori classic, used to teach children number recognition, counting, and the concept of measurement. You can easily make your own set of number rods with colorful sticks or strips of wood.
Materials Needed:
- Wooden dowels or popsicle sticks
- Paint or markers (to color the sticks in varying lengths)
- Ruler
How to Create:
- Cut the sticks or dowels into different lengths, each corresponding to a number (for example, a 1-inch stick represents the number “1,” a 2-inch stick represents the number “2,” etc.).
- Paint or mark each stick with the corresponding number.
- Once complete, your child can use the rods to practice counting, comparing lengths, and even early addition and subtraction.
This DIY apparatus introduces foundational math concepts in a tactile and engaging way.
6. DIY Lacing Beads
Lacing beads are excellent for developing fine motor skills, hand-eye coordination, and concentration. They are also useful for teaching patterns, sequencing, and early geometry.
Materials Needed:
- Large beads or buttons (wooden beads work best)
- String or shoelaces
How to Create:
- Thread a piece of string or shoelace through a needle and tie a large knot at the end.
- Provide a variety of beads in different shapes, colors, and sizes.
- Encourage the child to create patterns, practice counting, or simply thread the beads onto the string.
This simple yet effective DIY tool enhances dexterity and concentration while also introducing the concept of patterns and sequencing.
Tips for Success with DIY Montessori Materials
- Keep It Simple: Montessori tools are most effective when they are simple and natural. Avoid making things overly complicated or overly colorful, as this can overwhelm young children.
- Use Natural Materials: Whenever possible, opt for wooden, fabric, or other natural materials, as these are more aligned with the Montessori philosophy of connecting children with the natural world.
- Incorporate Real-Life Items: Many Montessori materials replicate real-life objects. Consider using everyday items like kitchen utensils, natural objects (stones, shells), or household tools for practical life activities.
Creating your own DIY Montessori apparatus is an affordable and rewarding way to engage children in meaningful learning. By using simple materials and a little creativity, you can replicate many of the most effective Montessori tools at home. These homemade learning tools not only save money but also allow you to tailor educational activities to your child’s specific needs and interests, fostering independence, concentration, and a love of learning that will last a lifetime. Whether it’s sorting trays, sandpaper letters, or practical life tools, DIY Montessori apparatus can be just as powerful as their store-bought counterparts.
Content Prepared by: Pratheek
Contact no: +9198468 08283
